[ad_1]
Preserve the taste of summer with our easy guide to canning tomato juice! Get tips on preventing separation, safe recipe adjustments, and how to use your canned tomato juice in soups, stews, and more.
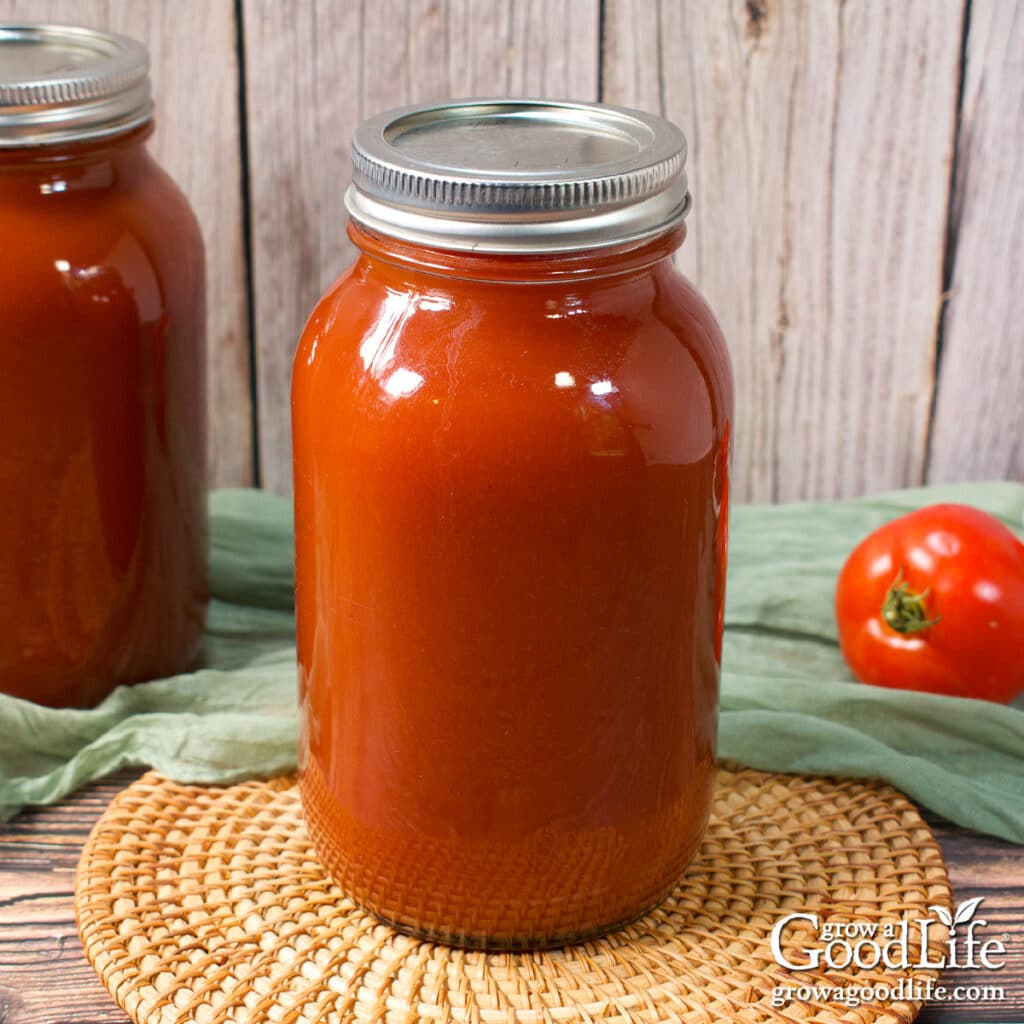
There’s nothing quite like preserving the fresh taste of garden tomatoes to enjoy all year long. Canning your own tomato juice is a simple and rewarding way to capture that flavor, whether you are using an abundant harvest from your garden or simply making the most of fresh tomatoes from your local farmers’ market. Preserving homemade tomato juice is a great way to enjoy that fresh tomato flavor all year long.
This recipe breaks the process down into simple, easy-to-follow steps to guide you through making and canning your own tomato juice. You will also find plenty of helpful tips to ensure success—like preventing juice separation, safely adding flavor, and choosing the best tomatoes for preserving.
Following these step-by-step instructions, you’ll have a pantry full of vibrant, delicious tomato juice ready to use in soups, stews, sauces, and more.
Tips for Making Tomato Juice
This simple recipe for water bath canning plain tomato juice is found in several safe canning resources, including the National Center for Home Food Preservation and Ball canning publications.
If you are looking for a V8-style tomato and vegetable juice blend, follow this Tomato Vegetable Juice canning recipe instead.
For those preserving plain tomato juice, here are some helpful tips to ensure a successful and safe canning process:
Choose Healthy Tomatoes
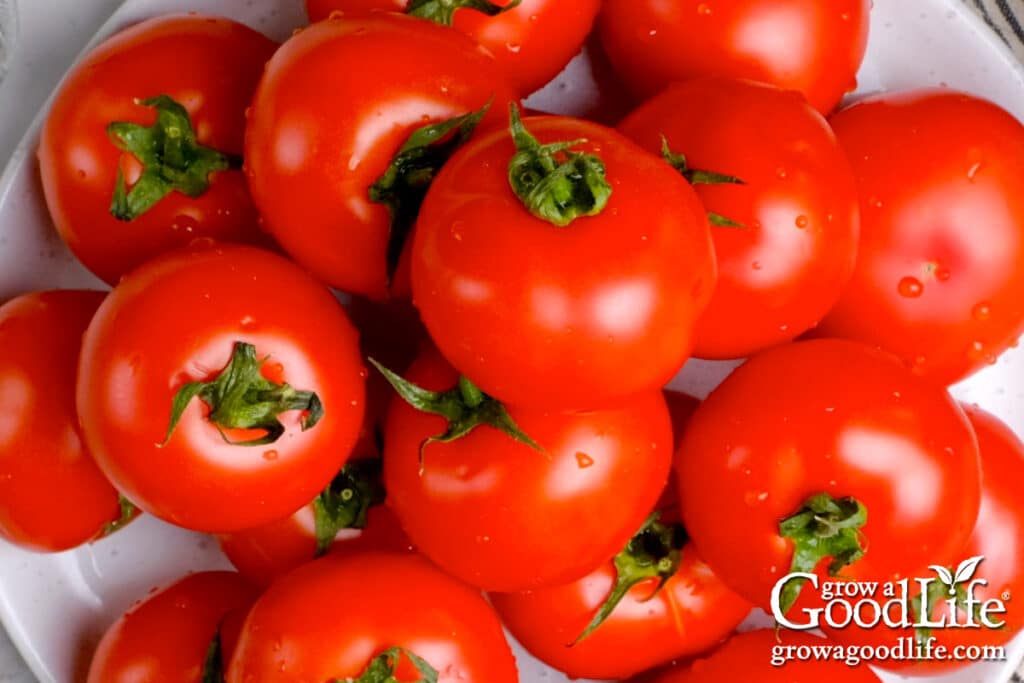
Any variety of tomatoes can be used in this recipe, whether cherry, plum, or larger slicing tomatoes. However, it’s important to select firm, high-quality tomatoes with no signs of disease or decay. Avoid using tomatoes from dead or frost-killed vines, as their pH can change, making them unsafe for home canning.

Remove Skins and Seeds
For safe canning, you’ll need to remove the skins and seeds from your tomato juice before canning. There are a few methods to achieve this, depending on the tools you have available. For more details on peeling tomatoes, check out this tutorial: How to Peel Tomatoes.
The easiest method is to cook and soften the tomatoes, then run them through a food strainer or food mill. This will efficiently remove the skins and seeds while separating the juice from the solids.
If you don’t have a food strainer, you can blanch and peel the tomatoes before cooking. After peeling, cook the tomatoes and press them through a sieve or fine mesh strainer to remove any remaining seeds.
Prevent Separation
One of the common issues when canning tomato juice is separation, where the liquid and pulp form distinct layers in the jar. This happens because tomatoes contain an enzyme called pectinase, which breaks down pectin and causes the juice to separate during processing. The enzyme is activated as soon as the tomatoes are cut.
To reduce separation, you need to heat the tomatoes immediately after cutting them, which inactivates the enzyme before it has a chance to work.
Start by cutting about a dozen tomatoes into quarters and placing them into a large sauce pot. Bring the pot to a boil over medium-high heat while stirring to prevent sticking. As the tomatoes soften, crush them with the back of your spoon.
Continue cutting more tomatoes and adding them to the pot as you work, halving or quartering them as needed. Keep crushing the tomatoes and stirring frequently to ensure even cooking and to prevent sticking. Repeat this process until you’ve finished preparing all of your tomatoes.
If your tomato juice still separates, don’t worry! It’s perfectly safe to consume. Simply shake the jar well before opening it to recombine the juice.
Include an Acid
For safe canning, it’s important to adjust the acidity of your tomato juice to prevent the risk of botulism and other harmful bacteria. Tomatoes can vary in acidity, so you’ll need to add an acid to each jar. Use bottled lemon juice or citric acid as directed in the recipe to ensure the pH level is safe for canning.
Be sure to use bottled lemon juice rather than fresh. Bottled lemon juice is standardized to a consistent level of acidity, which is essential for safe preservation. Fresh lemon juice can vary in acidity and may not provide the necessary protection.
Safe Recipe Adjustments
While canning recipes are carefully tested for safety, you can make minor adjustments to this research-based recipe without compromising its safety.
Adjust the Quantity: This recipe calls for about 13 pounds of tomatoes, yielding 4 quarts or 8 pints of tomato juice. However, you can use any amount of tomatoes you have on hand. Plan for about 3 to 3 1/4 pounds of tomatoes to yield 1 quart of juice.
Adding Flavor: You can enhance the flavor of your tomato juice by adding the following ingredients directly to the jars along with the citric acid or bottled lemon juice before filling them with tomato juice:
- Salt: Add up to 1/2 teaspoon per pint or 1 teaspoon per quart.
- Sugar: Add up to 1 teaspoon per pint or 2 teaspoons per quart.
- Dried Herbs: Add up to 1/2 teaspoon per pint or 1 teaspoon per quart.
- Fresh Herbs: Rinse thoroughly and add 1 sprig of fresh herbs to each pint or quart jar.
Adapt Jar Sizes: This recipe is for quarts (32 ounces) and pints (16 ounces), but you can also use half-pint jars (8 ounces) if you prefer smaller portions. Use 1/2 tablespoon of bottled lemon juice or 1/4 teaspoon of citric acid for each half-pint jar. Be sure to maintain the same headspace and processing time as you would for pint jars.
Freezing as an Alternative: If you want to make additional changes to the recipe or prefer not to can it, you can freeze your tomato juice instead. After making the juice, let it cool, then divide it into freezer containers, leaving about 1 inch of headspace to allow for expansion. Label and store in the freezer, and use it within a year for the best flavor.
Steps for Canning Tomato Juice
This recipe comes from the Ball Complete Book of Home Preserving. You’ll find similar instructions in other safe canning publications like So Easy to Preserve, the USDA Complete Guide to Home Canning, and on the National Center for Home Food Preservation (NCFHP) website.
Before starting, I highly recommend reviewing the NCFHP’s fact sheet on Using Boiling Water Canners. This will give you a solid understanding of the water bath canning process, ensuring you’re prepared every step of the way.
While the full, printable recipe is at the bottom of this article, here are the detailed steps to make and can your tomato juice
Step 1: Prepare the Canning Equipment
Start by gathering and preparing all your kitchen and canning equipment. Wash everything—jars, lids, canner, and tools—in warm, soapy water, then rinse thoroughly. Check the jars for cracks or chips, as these could cause breakage during the canning process.
You’ll need the following equipment:
- Water bath canner with a canning rack
- 4 quart-sized jars or 8 pint-sized jars for smaller portions
- Canning lids (use new lids for each jar) and reusable canning bands
- Canning tools: jar lifter, canning funnel, and bubble popper
- Food strainer, food mill, fine mesh strainer, or another tool to juice the tomatoes
- Kitchen timer
- Kitchen scale to weigh the tomatoes
- Basic kitchen supplies: a large stainless steel saucepot, prep bowls, a spoon, ladle, measuring spoons, and plenty of clean kitchen towels.
Step 2: Preheat the Jars and Canner
Place your water bath canner on the stove and position the jar rack inside. Set your clean jars in the canner and fill it with enough water to cover the jars completely. Bring the water to a simmer (180°F) and let the jars warm for 10 minutes. Keep them hot until you’re ready to fill them with juice.
Step 3: Juice the Tomatoes
Start by weighing and thoroughly washing your tomatoes under clean running water.
Heat the tomatoes quickly to prevent the juice from separating. Begin by cutting about a dozen tomatoes into quarters and placing them in a large saucepan. Bring the pot to a boil over medium-high heat while stirring the mixture to prevent sticking. As the tomato quarters soften, crush them with the back of a spoon.
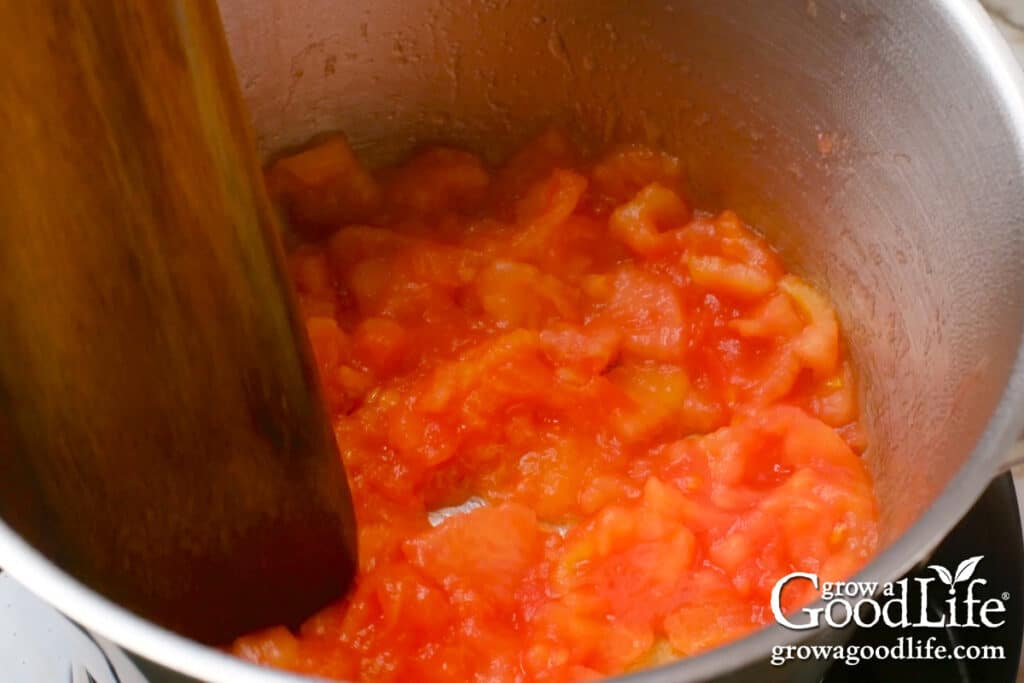

Then, cut the remaining tomatoes in half and add them to the pot while stirring and crushing them as they soften. Keep stirring frequently to ensure even cooking and to prevent anything from sticking to the bottom.
When all the tomatoes have been added, reduce the heat to medium and continue to cook, stirring occasionally, until the tomatoes are soft and juicy, about 10 minutes.
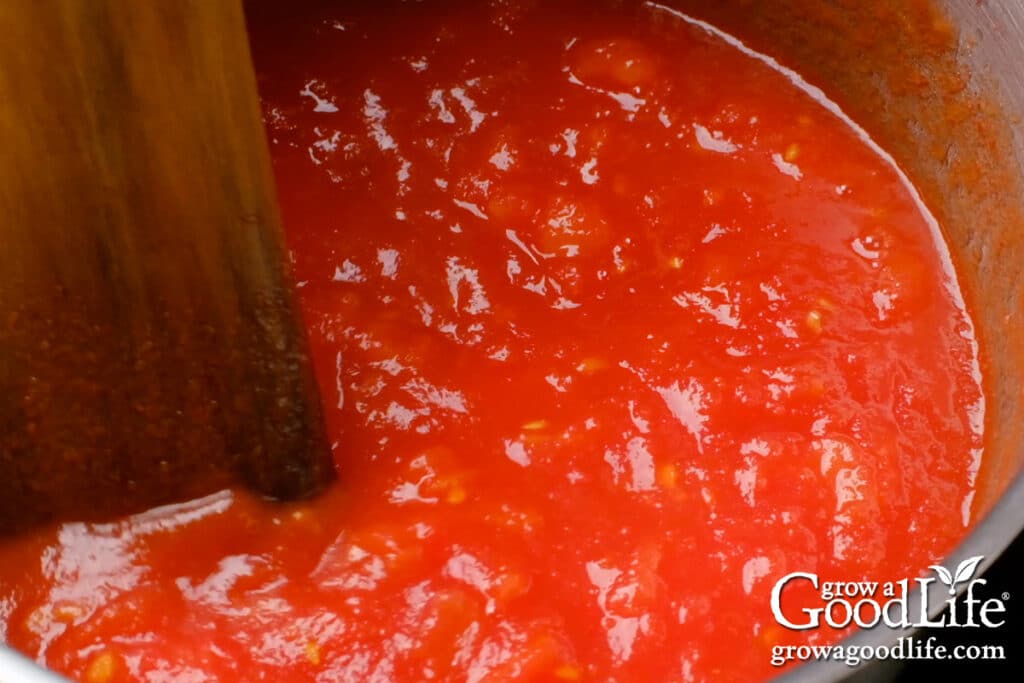

Turn off the heat and allow the tomatoes to cool slightly. Then, use a food strainer, food mill, or fine mesh strainer to separate the juice from the solids.
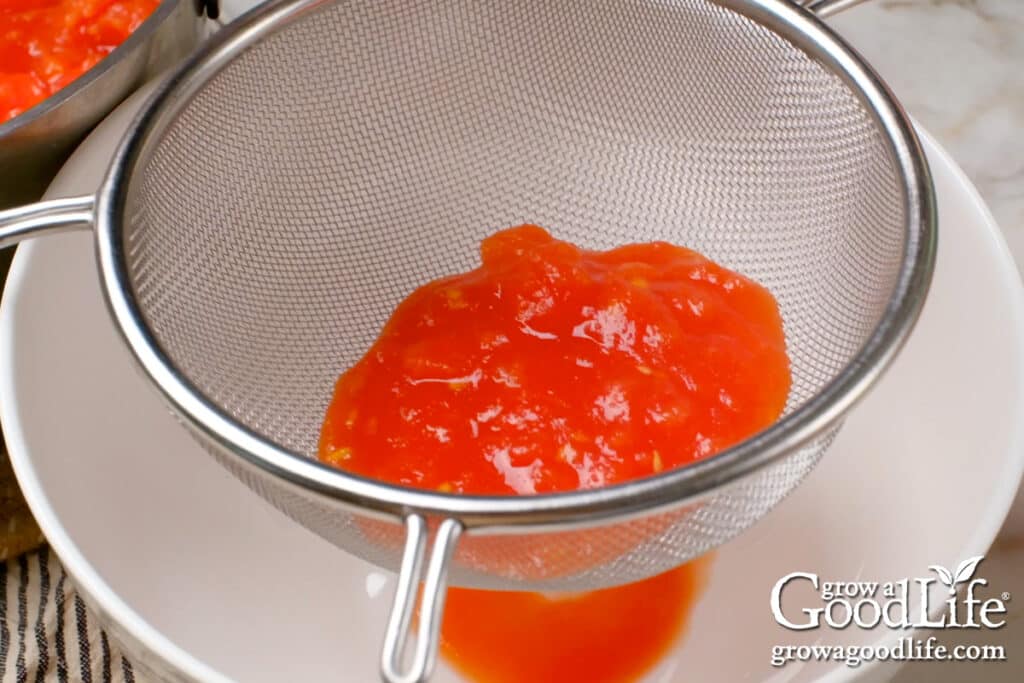

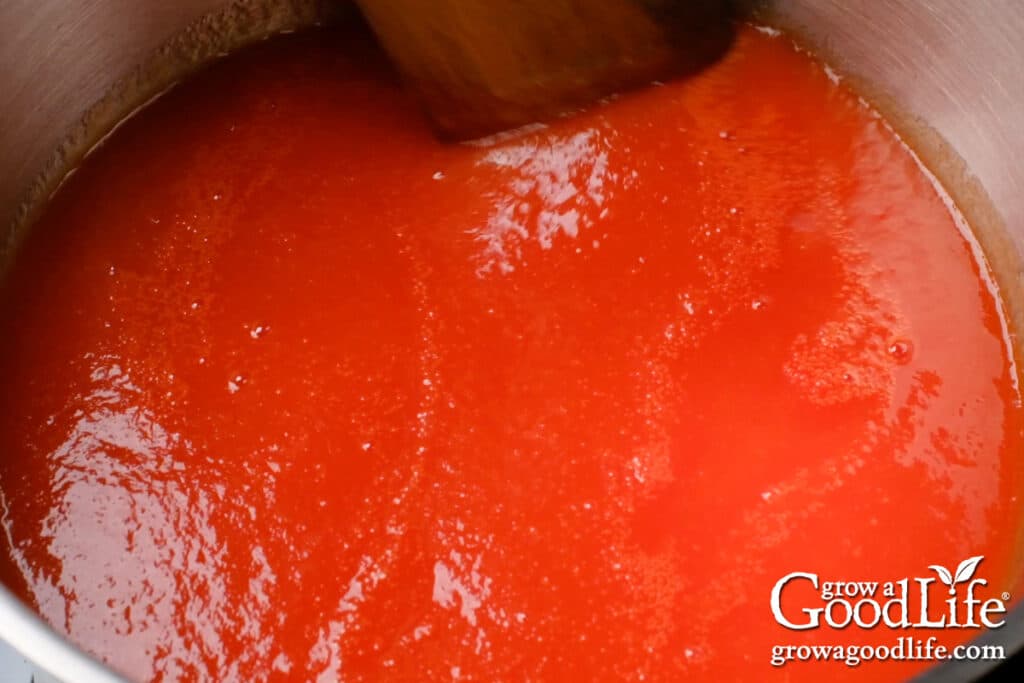
Discard the solids and return the strained tomato juice to the pot. Bring it to a boil, then reduce the heat and keep warm as you fill your jars.

Step 4: Fill the Jars
Prepare your workspace by spreading a dry kitchen towel on the counter. Then, place your canning lids, rings, funnel, ladle, bubble popper, bottled lemon juice or citric acid, measuring spoons, and a damp paper towel within easy reach.
Carefully remove one jar from the canner using a jar lifter, and pour the water back into the pot. Place the jar on the towel, while keeping the remaining jars in the canner to stay warm.
- For pint jars: Add 1 tablespoon of bottled lemon juice or 1/4 teaspoon of citric acid to the jar.
- For quart jars: Add 2 tablespoons of bottled lemon juice or 1/2 teaspoon of citric acid.
Next, use a canning funnel and ladle to fill the jar with tomato juice, leaving a 1/2-inch headspace.
Run a bubble popper through the jar to release any trapped air bubbles. Then, wipe the rim of the jar with a clean, damp towel to remove any residue that might prevent a good seal. Place a lid on the jar and screw the band on until it’s fingertip tight.
Carefully return the filled jar to the canner, and repeat the process for the remaining jars.
Step 5: Process the Tomato Juice in a Water Bath Canner
With the filled jars in the canner, adjust the water level to cover the jars by at least 2 inches. Cover the canner with the lid and bring the water to a boil. Once the water reaches a vigorous boil, set your timer and process the jars for the time specified in the recipe below.
When the processing time is complete, turn off the heat and carefully remove the canner’s lid. Let the jars rest in the hot water for about 5 minutes to settle.
Meanwhile, spread a dry kitchen towel on the counter. Using the jar lifter, remove the jars from the canner, keeping them upright, and place them on the towel. Do not tighten the bands or check the seals yet. Let the jars cool undisturbed for 12 to 24 hours.
After cooling for at least 12 hours, check the seals by pressing down on the center of each lid. If the lid doesn’t pop back, the jar is sealed properly. For any jars that didn’t seal, refrigerate and consume within a week.
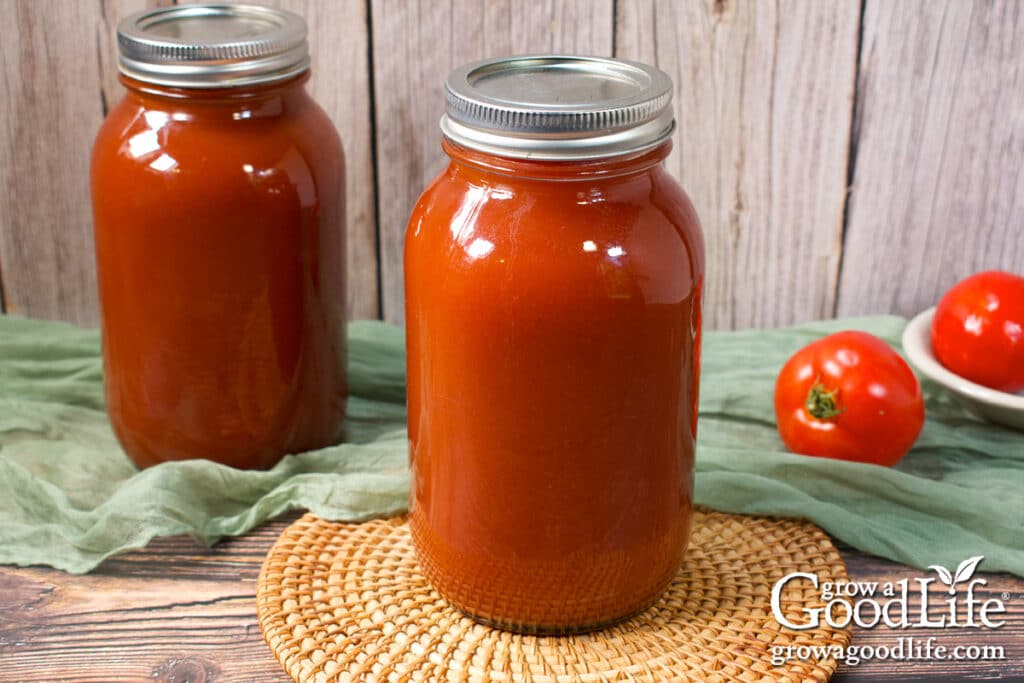
Before storing, remove the ring bands from sealed jars and wash them in warm, soapy water to remove any residue. Dry the jars thoroughly, label, and date them. Store your canned tomato juice in a cool, dark place, ideally between 50 and 70°F.

Ways to Use Canned Tomato Juice
Homemade tomato juice is a versatile pantry staple that can be used in various recipes. I like having jars on hand, along with chicken stock and beef stock as a liquid for canning meats, soups, stews, beans, and meals in a jar.
Here are more ways to use tomato juice:
- Soup Base: Use as a base for tomato soup, vegetable soup, or minestrone.
- Stews: Replace the broth or water in stews, such as this Slow Cooker Harvest Hearty Beef Stew for added flavor.
- Chili: Substitute tomato juice for broth or tomato sauce when making chili for an extra boost of savory flavor. Try this Slow Cooker Chili Recipe.
- Pasta Sauce: Simmer until thickened with herbs and spices for a quick pasta sauce to serve with homemade noodles. How to Make Egg Noodles from Scratch.
- Rice: Substitute for water when cooking rice for added flavor.
With homemade tomato juice in your pantry, you’ll have a go-to ingredient to enhance a wide range of dishes year-round.
Canning Tomato Juice
Preserve the taste of summer with our easy guide to canning tomato juice! Get tips on preventing separation, safe recipe adjustments, and how to use your canned tomato juice in soups, stews, and more.
Prepare the Canning Equipment:
-
Wash the jars, lids, bands, and canning tools in warm, soapy water.
-
Place the water bath canner on the stove. Place the jar rack into the pot, set the jars in the canner, and fill with enough water to cover the jars.
-
Bring the canner to a simmer (180˚F) for 10 minutes, and keep the jars warm until you are ready to fill them.
Juice the Tomatoes:
-
Rinse the tomatoes well under clean running water. Then heat the tomatoes as you prepare them to help prevent the juice from separating.
-
Start with about a dozen tomatoes. Remove the cores, cut them into quarters, and add them into a large saucepot. Bring the pot to a boil over medium-high heat, and crush the tomatoes with the back of a spoon as they soften.
-
Continue to core and quarter the remaining tomatoes, adding them to the pot as you work. Stir frequently to prevent sticking as they soften. Then, reduce the heat and simmer until the tomatoes are soft and juicy, about 5 to 10 minutes.
-
Turn off the heat and let the tomatoes cool slightly, then juice the tomatoes using a food strainer or sieve to remove the peels and seeds.
-
Return the juice to the pot, bring it to a boil, then reduce the heat and keep warm as you fill your jars.
Fill the Jars:
-
Spread a kitchen towel on the counter. Use the jar lifter to remove ONE jar from the canner. Drain the water back into the canner, and place it on the towel. Keep the remaining jars in the canner so they stay hot.
-
Measure and add either lemon juice or citric acid to the jar. For pints, add 1 tablespoon of bottled lemon juice or 1/4 teaspoon of citric acid to the jar. For quarts, add 2 tablespoons of bottled lemon juice or 1/2 teaspoon of citric acid to the jar.
-
Use the canning funnel and ladle to fill the warm jar with hot tomato juice, leaving a 1/2-inch headspace.
-
Run the bubble popper through to release any air bubbles. Wipe the rim with a clean, damp towel to remove any residue.
-
Add the lid and secure it with a screw band until it’s fingertip tight. Return the jar to the canner. Then, repeat with the rest of the jars.
Process in a Boiling Water Bath Canner:
-
Once the filled jars are all in the canner, adjust the water level so it is at least 2 inches above the tops of the jars.
-
Cover your canner and bring it to a boil over medium-high heat. Once the water boils vigorously, set a timer and process pints for 35 minutes and quarts for 40 minutes at altitudes of less than 1,000 ft. Adjust processing time for your altitude if necessary. (See notes.)
-
When the processing time is complete, turn off the heat, remove the lid, and let the canner cool and settle for about 5 minutes.
Cool and Store:
-
Spread a dry kitchen towel on the counter. Then, use the jar lifter to remove the hot jars from the canner and place them on the towel. Keep the jars upright, and don’t tighten bands or check the seals yet. Let the jars sit undisturbed for 12 to 24 hours to cool.
-
After 12 to 24 hours, check to be sure the lids are sealed by pressing on the center of each cover. Refrigerate any jars that fail to seal and consume them within a week. Yields about 8 pints or 4 quarts.
All times are at altitudes of less than 1,000 ft. Make the following adjustments for altitudes greater than 1,000 ft:
- Pints: For altitudes of 1,001–3,000 feet = 40 minutes, 3,001-6,000 feet = 45 minutes, and 6,001-8,000 = 50 minutes.
- Quarts: For altitudes of 1,001–3,000 feet = 45 minutes, 3,001-6,000 feet = 50 minutes, and 6,001-8,000 = 55 minutes.
Serving: 1cup | Calories: 15kcal | Carbohydrates: 3.2g | Protein: 0.8g | Fat: 0.2g | Sodium: 5mg | Potassium: 196mg | Fiber: 1g | Sugar: 2.2g | Calcium: 8mg
If you liked this tomato juice canning recipe, be sure to check out more ways to home can your tomato harvest! Each recipe offers step-by-step instructions to help you stock your pantry with jars of delicious homemade tomato products.
You may also like these simple and flavorful recipes:
If you love salsa, consider adding our eBook, Grow a Good Life Guide to 50 Salsa Canning Recipes, to your resource library. This 72-page eBook is packed with a variety of delicious salsa recipes, including classic tomato salsas to roasted and grilled salsas to tomatillo and delicious fruit blends, all safe for water bath canning. It’s the perfect guide to help you preserve your garden harvests.
[ad_2]
Source link


